
Tooth decay is so common in children that more children have tooth decay than asthma. In fact tooth decay is the most common chronic childhood disease. While there are certainly things you can do to prevent your child from developing cavities, there is a good chance that your child will experience a cavity at some point as they are learning how to properly take care of their teeth.
Luckily, getting a cavity is not the end of the world. In fact, regular dental checkups can detect cavities early so that they can be easily treated. In fact, many small to medium cavities can effectively be treated using composite fillings. Composite fillings are tooth-colored, minimally invasive, and can be placed during a single dental appointment. This is why getting a composite filling is as easy as 1-2-3! Listed below are the three steps necessary to place a composite filling.
Step #1: Get Comfortable
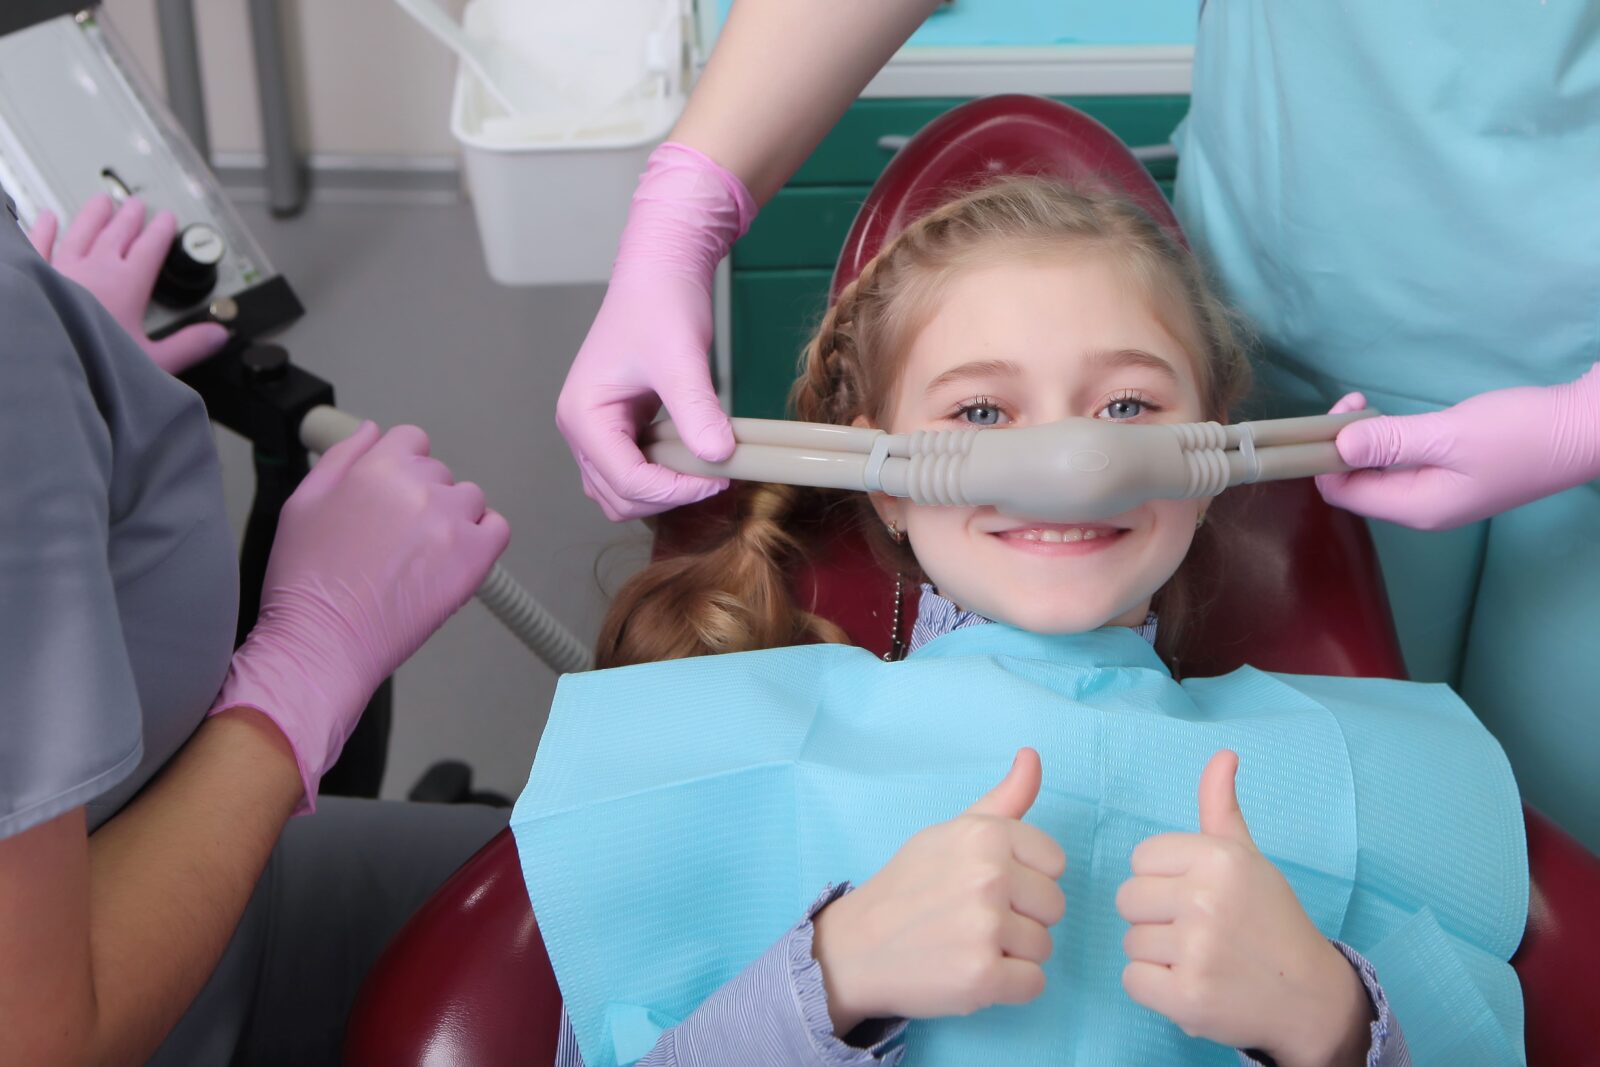
Before starting any type of restorative dental treatment, our goal is to make your child’s experience as positive as possible. A large part of this deals with making them emotionally and physically comfortable. For this reason, we provide the option of dental sedation to relax your child, keep them still during the procedure, and prevent them from experiencing anxiety. Nitrous oxide is the most common form of sedation used since it can be easily inhaled through a gas mask over their nose, keeps your child awake but relaxed, and wears off soon after the procedure. However, deeper levels of sedation are also available if needed.
Once your child is emotionally comfortable, we will also need to ensure that they will be physically comfortable during the procedure. For this, we use dental anesthetics to completely numb the affected tooth and surrounding area. Although a topical numbing gel is used to reduce discomfort during the administering of the anesthetic, your child may still feel a slight pinch. This will be short lived since the anesthetic will quickly make the area numb.
Step #2: Prepare the Tooth
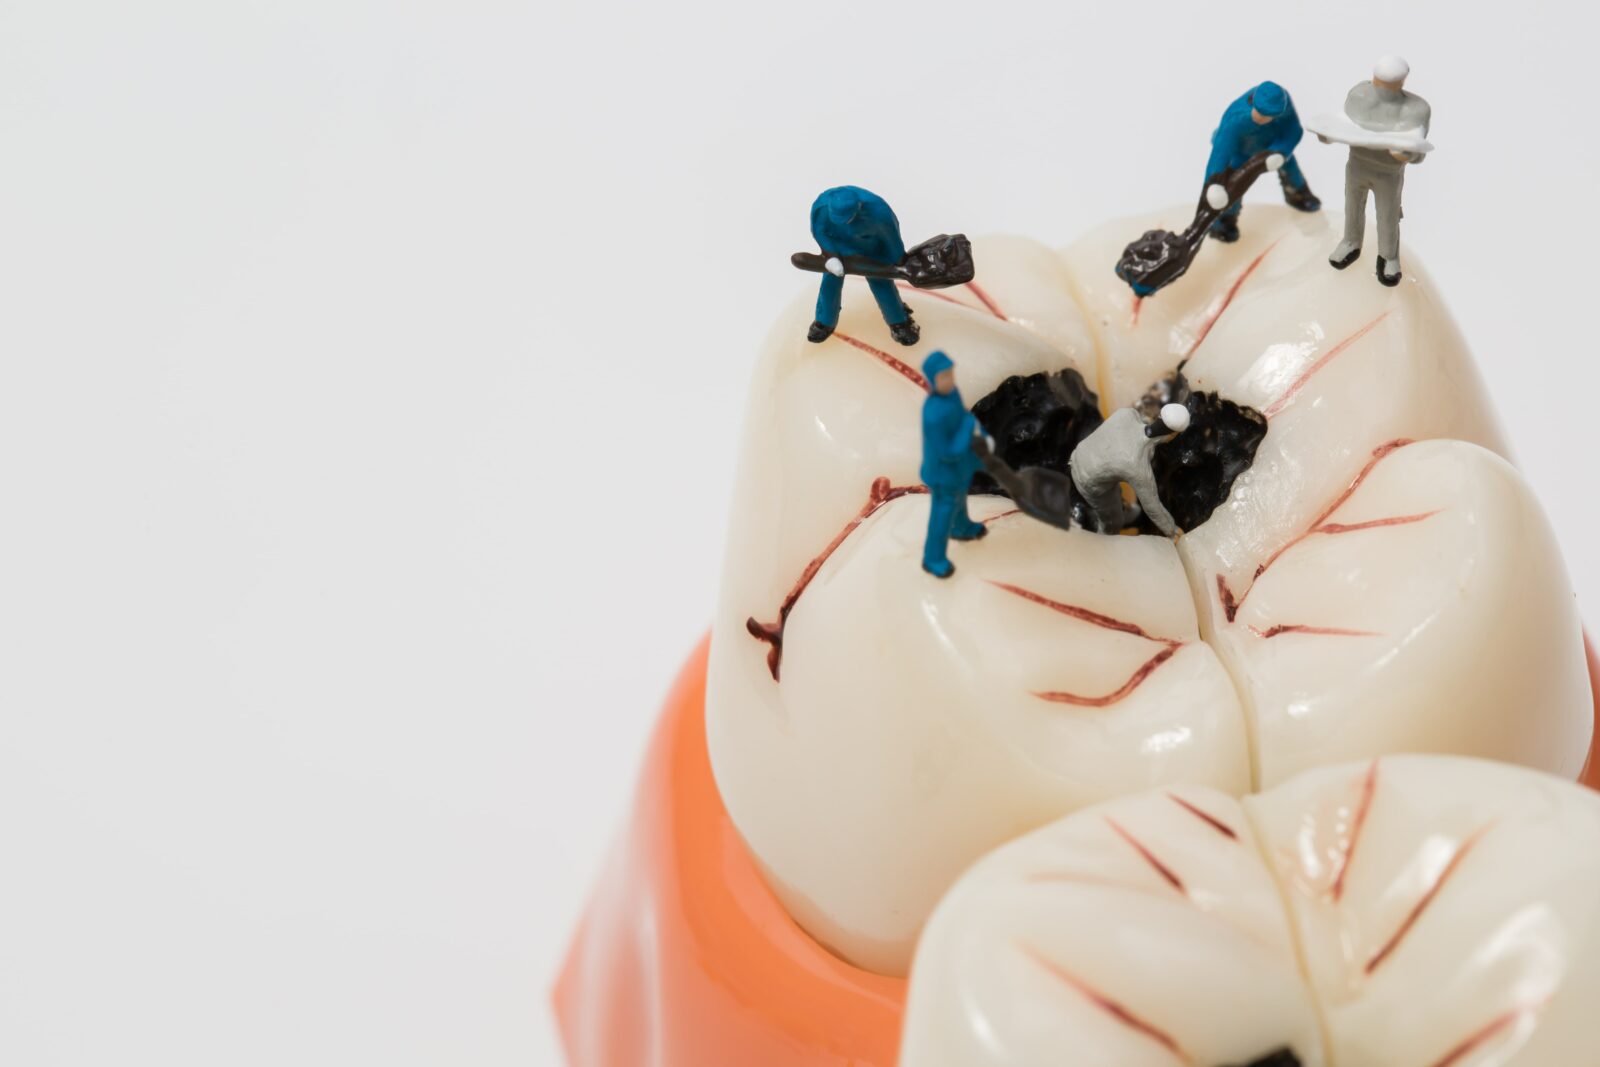
When your child is comfortable and numb, we will start to prepare the tooth for a filling. This is accomplished by using a dental drill to remove the decayed tissue and reshape the remaining cavity. While dental sedation should keep your child calm, it may also be helpful to use headphones to minimize the sound of the dental drill. You can also tell your child to expect to feel pressure from the drill. Luckily, the dental drill is only used for a few minutes while placing a filling.
Once the decayed tissue has been removed and the area has been shaped, an acidic solution will be placed inside the cavity. This acidic solution is used to rough up the natural tooth surface in order to establish a strong bond between the tooth and the composite resin used for the filling. The solution will be briefly left in place, then the tooth will be rinsed and dried. Since it is essential for the tooth to be dry for it to bond properly with the composite resin, your child’s dentist may use a dental dam, cotton, or suction to prevent saliva from entering the treatment area.
Step #3: Place the Filling
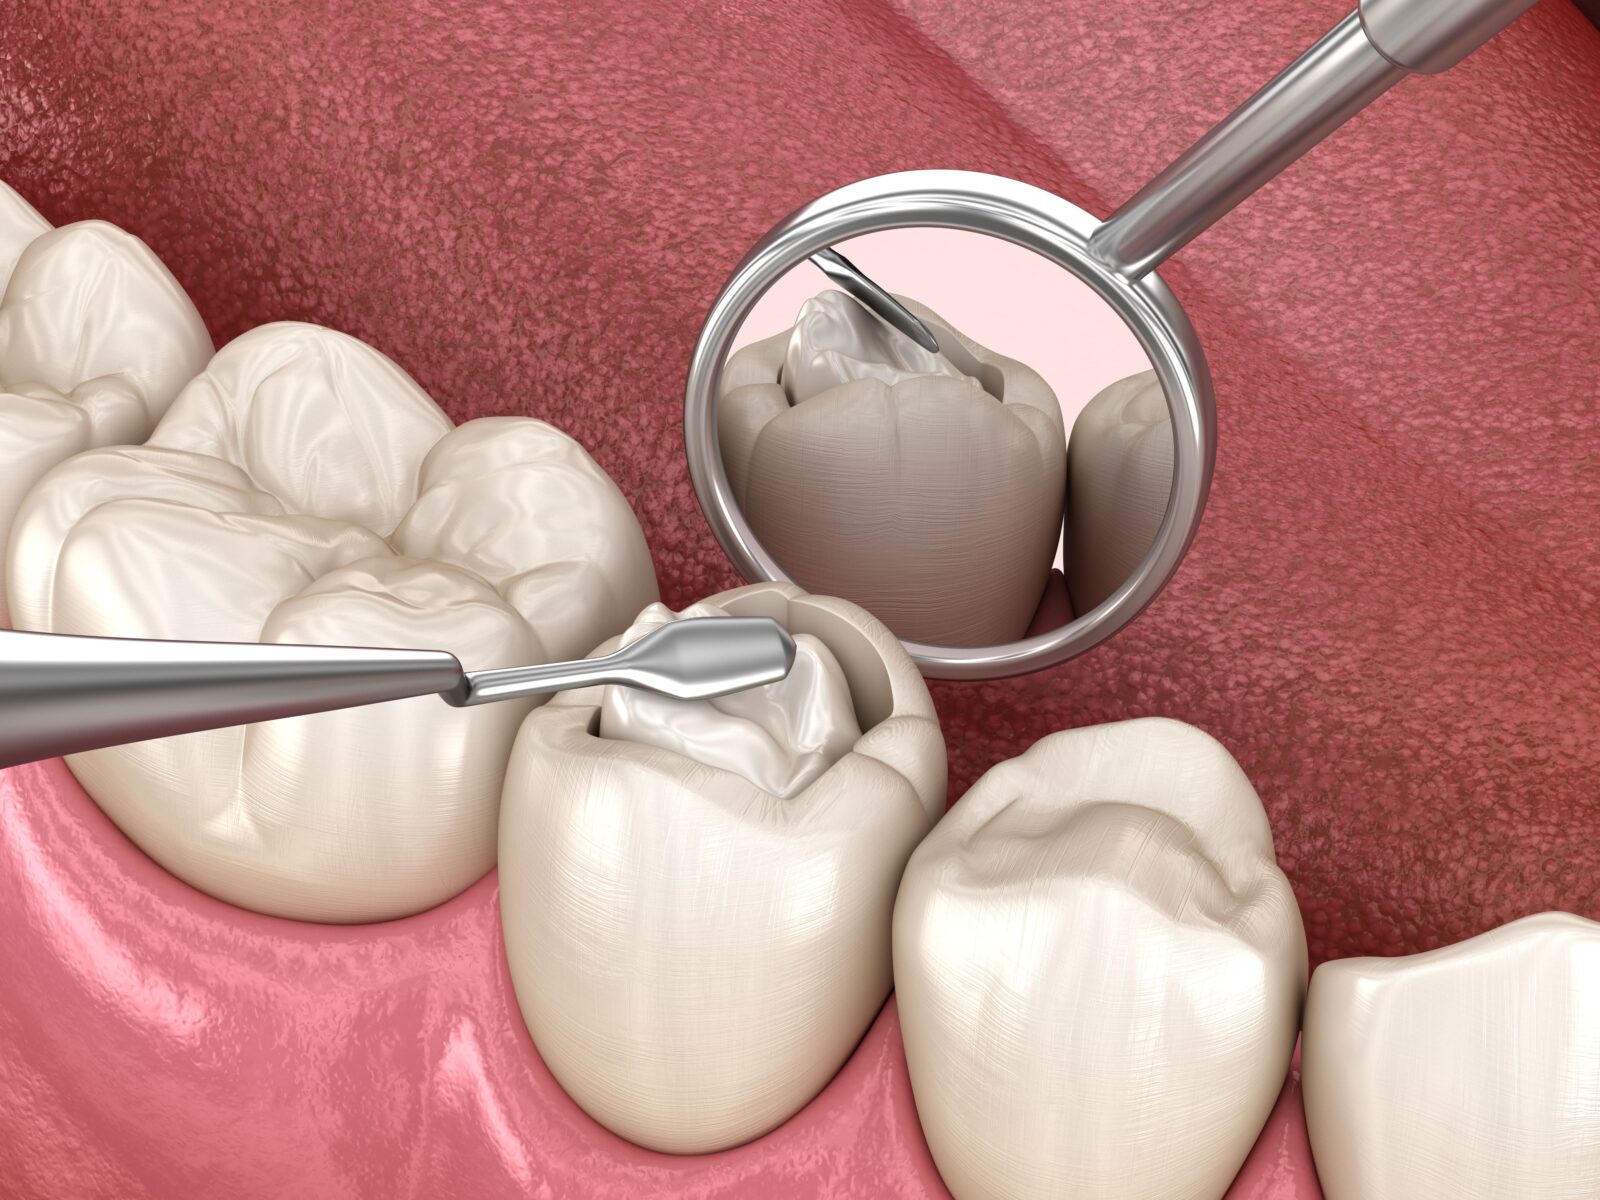
The final step of placing a composite filling is actually placing the filling material. When it is first applied, composite resin is a gel-like consistency. This allows it to completely fill all the space in the cavity to protect the tooth from future decay. As a result of this gel-like consistency, composite resin is also placed in layers so that it can be hardened in place one layer at a time. Generally speaking, it takes about 1-2 minutes for a special curing light to harden each layer and around 3 layers are usually used for a composite filling. The final layer is molded to mimic the surrounding tooth structure, then it is polished to resemble the look of your child’s natural tooth. The end result is nearly invisible.
After your child’s filling has been placed, the nitrous oxide mask will be removed and within minutes your child will bounce back to their normal self. Although their behavior may be back to normal, their mouth will continue to be numb for approximately 1-2 hours after the procedure. During this time, you will want to prevent them from eating and should monitor them when drinking. Once they regain feeling in their mouth, they can return to their normal diet, however some children may need to eat soft foods for the first few days until their tooth adapts to the new filling.